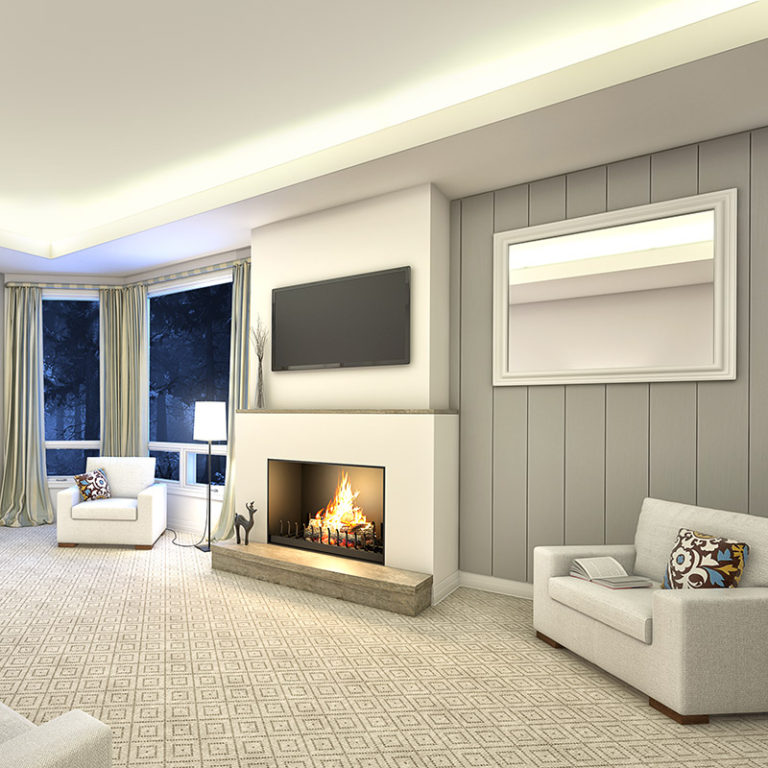
It can be easy to lose track of your house décor, especially during winter. However, wall panelling is one of the simplest and most effective ways to give your home a new lease of life by making your walls look a little more interesting.
Panelling has been a quick growing trend over the past year and it’s clear to see why - it allows for gorgeous designs, colours, and textures that are unique to you. It also provides insulation, gives you the chance to cover up any uneven walls and is very cost-effective.
Types of Wall Panelling
There is a range of different wall panelling out there, so let’s take a look and see what would work for your home.
Tongue and Groove
Tongue and groove wall panelling gives you the look and feel of classic panelling in a fraction of the time and without the need of a joiner. Add character to your kitchen, personality to your bedroom or install it in the hallway and up the stairs for a grand entranceway. This versatile design is perfect for creating a simple timber boarded look.
Shiplap
Popular design with a traditional background, originally designed to help waterproof boats, as the grooves make a tight seal for protection. Now this stylish panelling is used as a feature to complement your home, bringing an ‘outdoorsy’ feel inside. The waterproof nature makes it ideal for use in a bathroom.
Dado
This stunning design is ideal for your hallway, not only is it stylish, clean and provides a traditional yet modern feel. If your style leans more towards that clean modern look, then this is the ideal look for you, especially when paired with a darker tone to really make it pop.
Slatted
If you prefer a modern style, choosing slatted wall panels will help you achieve the look. This gorgeous choice of wall panelling is not only affordable but also easy to install, especially if you’re an avid DIYer.There are many ways these types of panels can enhance your home, either across the wall to create a feature or in smaller segments to create texture and style. To add an extra touch to your slatted panel walls, add a pop of colour behind your slats to really make it your own.
Is it worth it?
As previously mentioned, wall panelling is a stylish way to cover up flaws or hide wires that are in the way. Additionally, wall panelling materials are highly durable, low maintenance and are ultimately a versatile product. By choosing wall panelling, you will also help to improve your soundproofing and insulation, as well as protect your walls. It is a great way to enhance your home in a stylish yet budgeted fashion with an impressive outcome.
What do I need to panel a wall?
Medium-density fibreboard (MDF) is the most common type of wood panelling used for interior walls in hallways, living rooms, dining rooms, bedrooms and bathrooms.
To get started, you need to first decide the width and thickness of the MDF you’re going to use.
What tools do I need for wall panelling?
- Paint
- MDF cut to size
- Tape measure
- Pencil
- Paint brush/cutting-in paint brush
- Paint roller
- Spirit level
- Glue
- Sealant
- Fillers
Step 1: Take your measurements
- Measure the width of your wall
- Decide how many panels you’d like on your wall
Step 2: Prep
- Sand down the walls if needed
- Fill in any holes or gaps with filler and again make sure the surface is smooth before you start
- Once you’ve got a smooth surface, start attaching the panels onto your wall
Step 3: Attach your panels
- Start with your base rail. Using strong glue, stick each panel to your wall, making sure to press down for a secure fit. Leave to dry
- Attach your top rail. You can then move on to your side stiles, which should slot in between your top and bottom rails. Use a spirit level to ensure they’re straight before sticking them down
- Continue to fit the remaining stiles one at a time and finish off by adding in horizontal rails between them
- Remember to ensure each panel is securely fixed on before moving to the next
- Spotted gaps in your panelling? Caulk any such areas and leave them to dry for a smooth finish
Step 4: Prime
- Prime the wall with a primer onto the wooden areas of your panelling and leave to dry
Step 5: Paint
- Your panelling is all primed and ready for paint
After you've painted, sit back and admire your work.
